Creating Photorealistic Materials for Architectural Visualizations
/
Monday, 21 March 2022
/
Published in
Artwork, Exterior Visualization, Interior Visualization, Making Of, News

Detailed geometry and correct lighting are essential for any architectural visualization. Photorealistic materials, as well as detailed shaders, help to raise the authenticity to a higher level. A great example of the use of high-quality and complex material shaders can be seen in the work of Ewelina Lekka. Her architectural visualizations and the plants used with modified shaders are very detailed and use many features of the Corona Renderer shader.
All the more, we are happy that Ewelina gives us an insight into one of her projects. Enjoy the article.


Ewelina Lekka – Visualization Showcase
My name is Ewelina Lekka. I am a founder of EL DESIGN Ewelina Lekka Visualizations. I am an architect by profession, a visualizer by passion. I am a self-taught 3D artist who strives to constantly develop the skills necessary to reach the highest level. I specialize in creating professional architectural visualizations and environments. My goal is to achieve high-quality exteriors with unique greenery.
At architectural studies, each project required it to show building visualizations. I really had fun creating textures, light, greenery and I decided to continue this adventure with visualization after graduated architecture. I became more interested in it. I started watching more tutorials about 3ds max, and I liked it a lot. I remember that I started with a small interior, and now I create advanced scenes with lots of greenery and objects. I like the fact that 3ds max gives many possibilities.
In this article, I would like to tell a little about creating photorealistic materials/shaders for architectural visualizations. I will describe this process on the basis of some of my work, but mainly on one of my recent projects – Holloways Beach House.


Gallery – Holloways Beach House Renderings
The Holloways Beach House Visualization – Starting a new Project
Holloways Beach House visualizations were prepared for my Australian client. He asked me to create pictures of a beach house overlooking the ocean. I received a bunch of references from the site. There were many palm trees and exotic plants characteristic of this place. I knew that the key would be to map the greenery from the real state.
For my daily work, I use 3ds Max and Corona Renderer. My inherent plugins are also Forest Pack and Raiclone from Itoo. Forest Pack is great for scattering objects on the surface, on splines, and other objects. Raiclone is a scene assembly tool. It’s based on creating parametric layouts. Mostly I use it for creating fences, curbs, and also claddings. I also used it in this project for making the last example I mentioned before. Both are huge time savers.
I always start my work by composing. Then, I prepare a package of cameras at different angles to find the best views and show the architecture of the building from its most attractive site. From the first steps, I also think about the lighting. As we know, we can play with the light and shadows to focus on some parts of images and keep our eye on important things.


Gallery – Holloways Beach House Exterior Clay Renders


Gallery – Holloways Beach House Interior Clay Renders
I usually work with the golden ratio; I make sure that important things are placed in strong points of the image.


Golden Ratio Application Examples – Holloways Beach House Clay Renders
Of course, we must remember that clients also have their own idea of showing architecture, and the most important thing is to commercialize their ideas. Ultimately, we kept these views.


Golden Ratio Application Examples – Holloways Beach House Clay Renders
Adding Plants to the Scenes
Then I start work on my favorite part :) I search for the right models of plants and modification shaders. Here is the model package I applied for this project:


I focus on providing visualizations with high-quality greenery and a rich environment, so I put as much attention to this part of my work. I spent most of my time adjusting color hues to receive fresh green colors.
Photorealistic Material Shaders – Leaves


See the left model with basic textures and the right one with a slightly modified leaf shader. It is a bit time-consuming, but I think for such an effect – it’s worth it.

Base Leaf Shader

Modified Leaf Shader
Using References as Guides for True Authenticity
In this project, I had to keep on the actual site and locate the green in the right places, but generally, I follow the rule “less is more”. Before starting a project, I always try to prepare. I do research and analyze what plants are in a specific location. I also check plant clusters. It helps me understand what types grow together and use them in my visualizations to reach the highest level and create more valuable images. I pay attention to creating a plan for the picture (foreground and background) using plants and trees by placing them in different places.

Plant Placement Reference Areas
Creating Photorealistic Materials in Corona Renderer
When it comes to general shaders, I also spend a lot of time observing how the materials behave in daylight and artificial light. In real life, materials have some imperfection surfaces, and objects have rounded edges. Adding small chamfers to objects helps to reflect light better and bring us closer to the natural perception of the material. Below are a few random examples.


Plant Placement Reference Areas
Gallery – Photorealistic Material Setups
Corona Renderer gives great possibilities to make a good-looking image straight from the Frame Buffer, but I like to add some final touches and boost some effects. I don’t do much magic in Photoshop because I bet on full CGI, so I simply adjust curves, levels, hues, highlights, and shadows in Camera Raw. My final step is using Topaz Adjust to achieve an HDRI look and boost colors.
Comparison – Final Rendering with and without Post Processing


I have a few little tricks that help me save a ton of time. Over many years of my experience, I have accumulated a pretty good library of models that allows me to work with any type of project. However, recently an inseparable tool of my work has become a Scene Manager. I discovered it a few months ago, and it is an amazing way to focus on the creative side of projects. I work very often on large projects than the one described above. I have to switch layers with different objects prepared for different cameras almost every time. It’s very annoying to switch a really large number of layers every time. This tool is my biggest time and nerves saver!
I hope you will find these tips useful in your future works, and they will help you become a better artist. Big thanks to Renderpeople for inviting me to make this article. Good luck!
WHAT YOU CAN READ NEXT
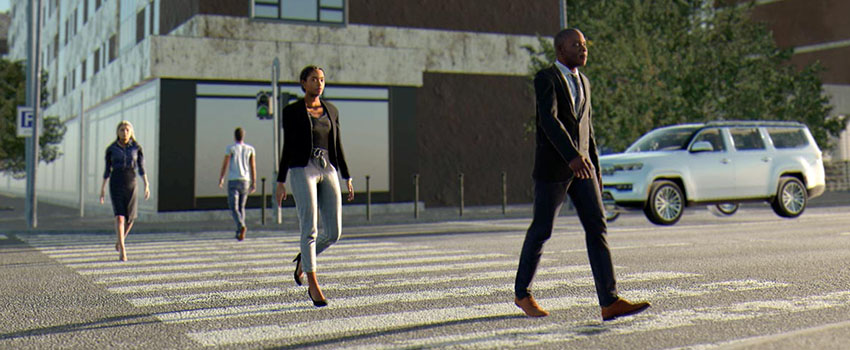
aiSim: Accelerating Simulation with Photorealistic Renderpeople Models
Wednesday, 22 March 2023
We are pleased to announce a collaboration with aiMotive, a globally recognized leader in automotive simulation technology. Together, we aim to provide a more realistic and diverse virtual testing environment to develop level-agnostic automated driving solutions. By integrating Renderpeople’s library of photo-scanned 3D People models into aiMotive’s aiSim, development teams can create more accurate and
- Published in Making Of, News, Products, Research & Development, Rigged 3D People
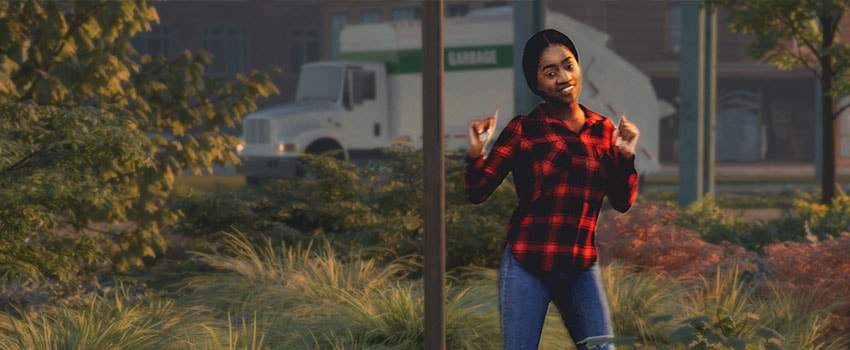
How to Import 4D People into 3ds Max
Friday, 19 August 2022
If you are looking for even more realistic animated people models for your scenes. This is for you! 4D People are captured by state-of-the-art volumetric capture technology. They are, so to speak, moving 3D scans. This allows us to capture every detail of our actors. The result is a highly realistic 4D model that can
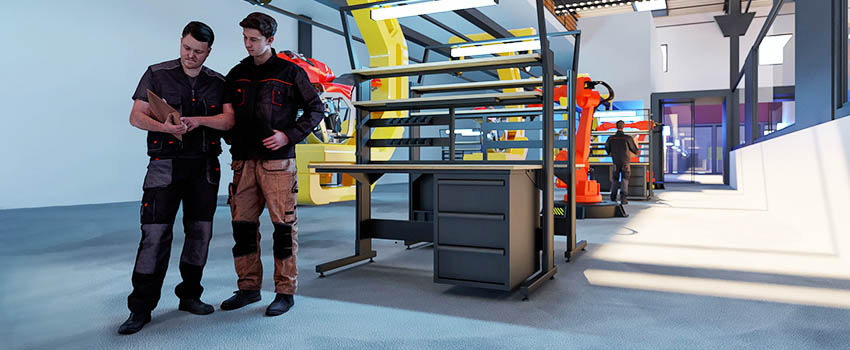
WebVR Visualization – Creating Interactive Showcases
Tuesday, 09 August 2022
Have you ever toured a building online before it was even built? Or maybe visited a historic landmark right on your smartphone from the comfort of your home? If so, you have experienced the power of WebVR visualization. This relatively new technology allows architects and designers to create interactive 3D models that can be viewed
- Published in Exterior Visualization, Interior Visualization, Making Of, News

Renderpeople Easter Egg Hunt 2022
Monday, 28 March 2022
This year we wanted to bring you a special event for the coming Easter holidays. So we are thrilled to present our Renderpeople Easter Egg Hunt 2022. We hid six eggs throughout the Renderpeople website! Look closely if you want to find all six. There is an exciting prize of $500 store credit waiting for
- Published in News