WebVR Visualization – Creating Interactive Showcases
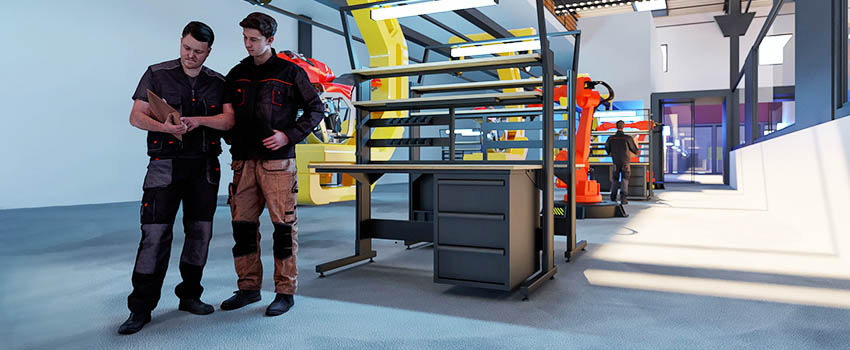
Have you ever toured a building online before it was even built? Or maybe visited a historic landmark right on your smartphone from the comfort of your home? If so, you have experienced the power of WebVR visualization. This relatively new technology allows architects and designers to create interactive 3D models that can be viewed online with a VR headset, smartphone, or on a standard web browser. In this blog post, we’ll explore the amazing capabilities of VR content with modern tools. We’ll also take a look at a special project showcase from Oliver Kästner to give you a hands-on experience of the potential of WebVR visualization.
So strap on your virtual reality headset, and let’s dive in!
What’s behind WebVR?
WebVR is a relatively new technology that allows developers to create interactive 3D content that can be viewed on a VR headset, smartphone, or web browser. WebVR is based on the WebGL standard and uses JavaScript to render 3D content right in the browser, smartphone or tablet. WebVR is available on all major VR platforms, including Oculus Rift, HTC Vive, Samsung Gear VR, Google Cardboard, and Daydream. It also provides a more immersive experience than traditional 2D images. Users can explore 3D models or entire 3D environments by simply taking their phones and walking around with AR-applications.
Creating a virtual production line showcase in WebVR – Oliver Kästner
Our friend Oliver Kästner took his time to present his latest interactive project with us. We are happy to share this project with you and give you an insight into the world of real-time visualization in WebVR. Enjoy!
WebVR visualization has the potential to revolutionize the way people experience architecture and design. By allowing people to explore buildings and landscapes in virtual reality, WebVR opens up new possibilities for education, tourism, and marketing. This is also true when it comes to creating industrial production lines, like in this special project. WebVR allows the managers to take a “virtual tour” of a production line before it is built in order to identify potential problems and optimize the workflow.
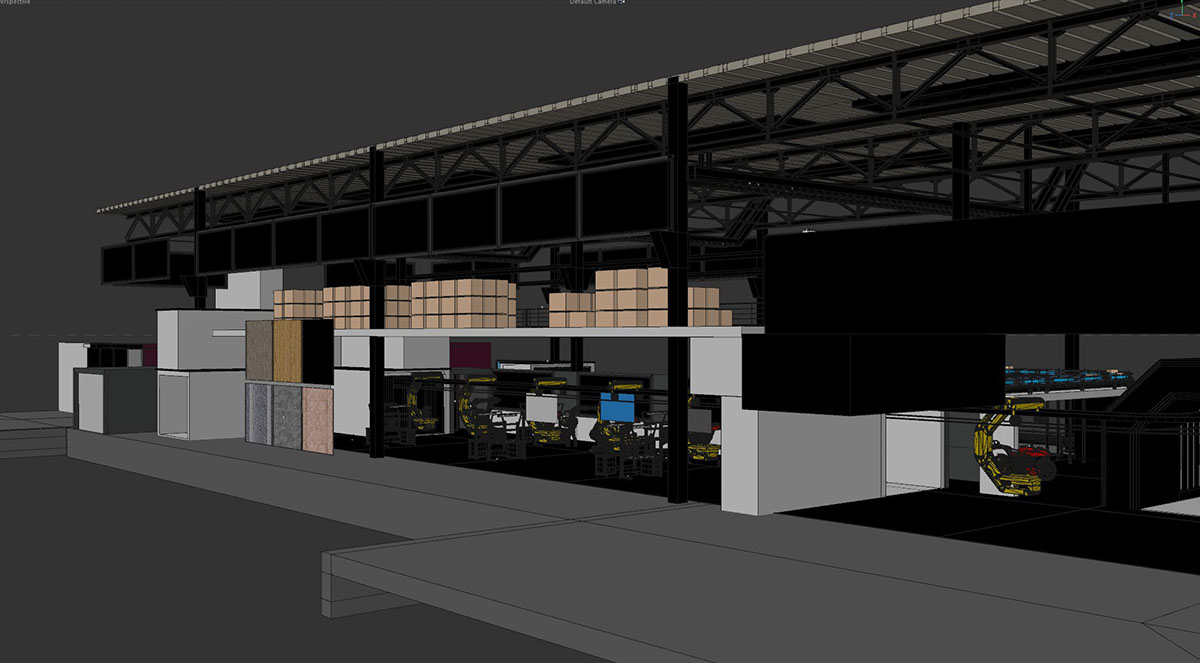
Industry Production Line Preview – Oliver Kästner
The framework conditions for such projects are the customer inputs and the deadline, which then always determines the pricing and also feasibility. If, for example, the customer already has an existing 3D model for the project, it is easier in most cases to convert it into a WebVR model from it instead of building it from scratch. The goal is always customer satisfaction – even during the project.
How to get started when working with a client
Milestones can be summarized relatively simply. Idea, planning, implementation, finalization after corrections and coordination. The overall idea and guide come from the customer, and we are then responsible for implementing this vision into the showcase. We achieve this with sketches of the floor plan, a collection of exemplary object views, and mood boards (first optical impressions in 3D). For the realization, it is then important to clarify the details, such as the use of different materials and textures or even environment settings. Then it goes into the interaction rounds, where the final details and optimizations are added, and bugs are also fixed.
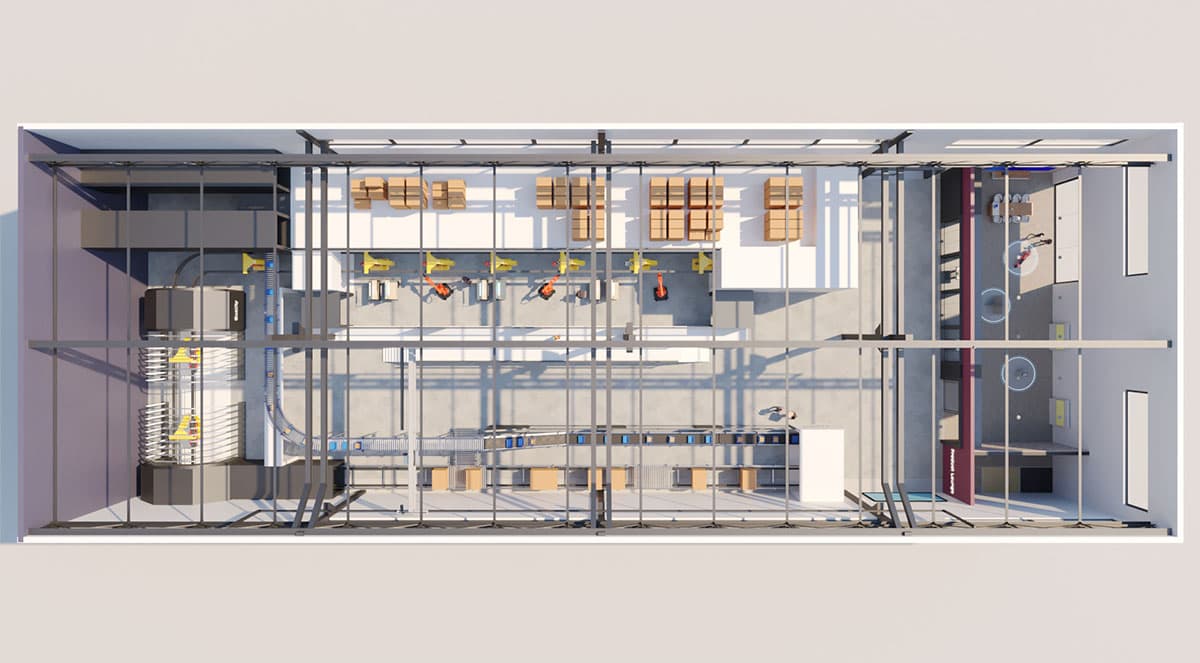
Industry Production Line Floor Plan – Oliver Kästner
In general, it is possible to quickly get first working results. Most of the time, those projects are planned with not enough production time. Due to coordination and iteration, it quickly adds up to several weeks of project production. A realistic project phase of 1-3 months should be planned. Furthermore, it is also important to agree with the customer beforehand on how important the mobile optimization of the application should be. This makes a big difference in the implementation.
Creating environments for real-time applications
The environment design depends on the project. Often we move within an architectural object, so it comes down to the details to make those places look appealing to the eye. It’s generally important to have a 360° HDRI that visually simulates the brightness and weather of the surrounding area. In addition, we often put a sun and single detail lights that create a soothing atmosphere (e.g., Light falling through the windows). Furthermore, we also add detailed images for individual views from windows, which then self-luminous offer a more realistic outside view. However, there are also projects that should be interactive both from the inside and also outside. Here it is even very important to use a 360° panorama image as HDRI. Otherwise, it will simply remain dark outside.
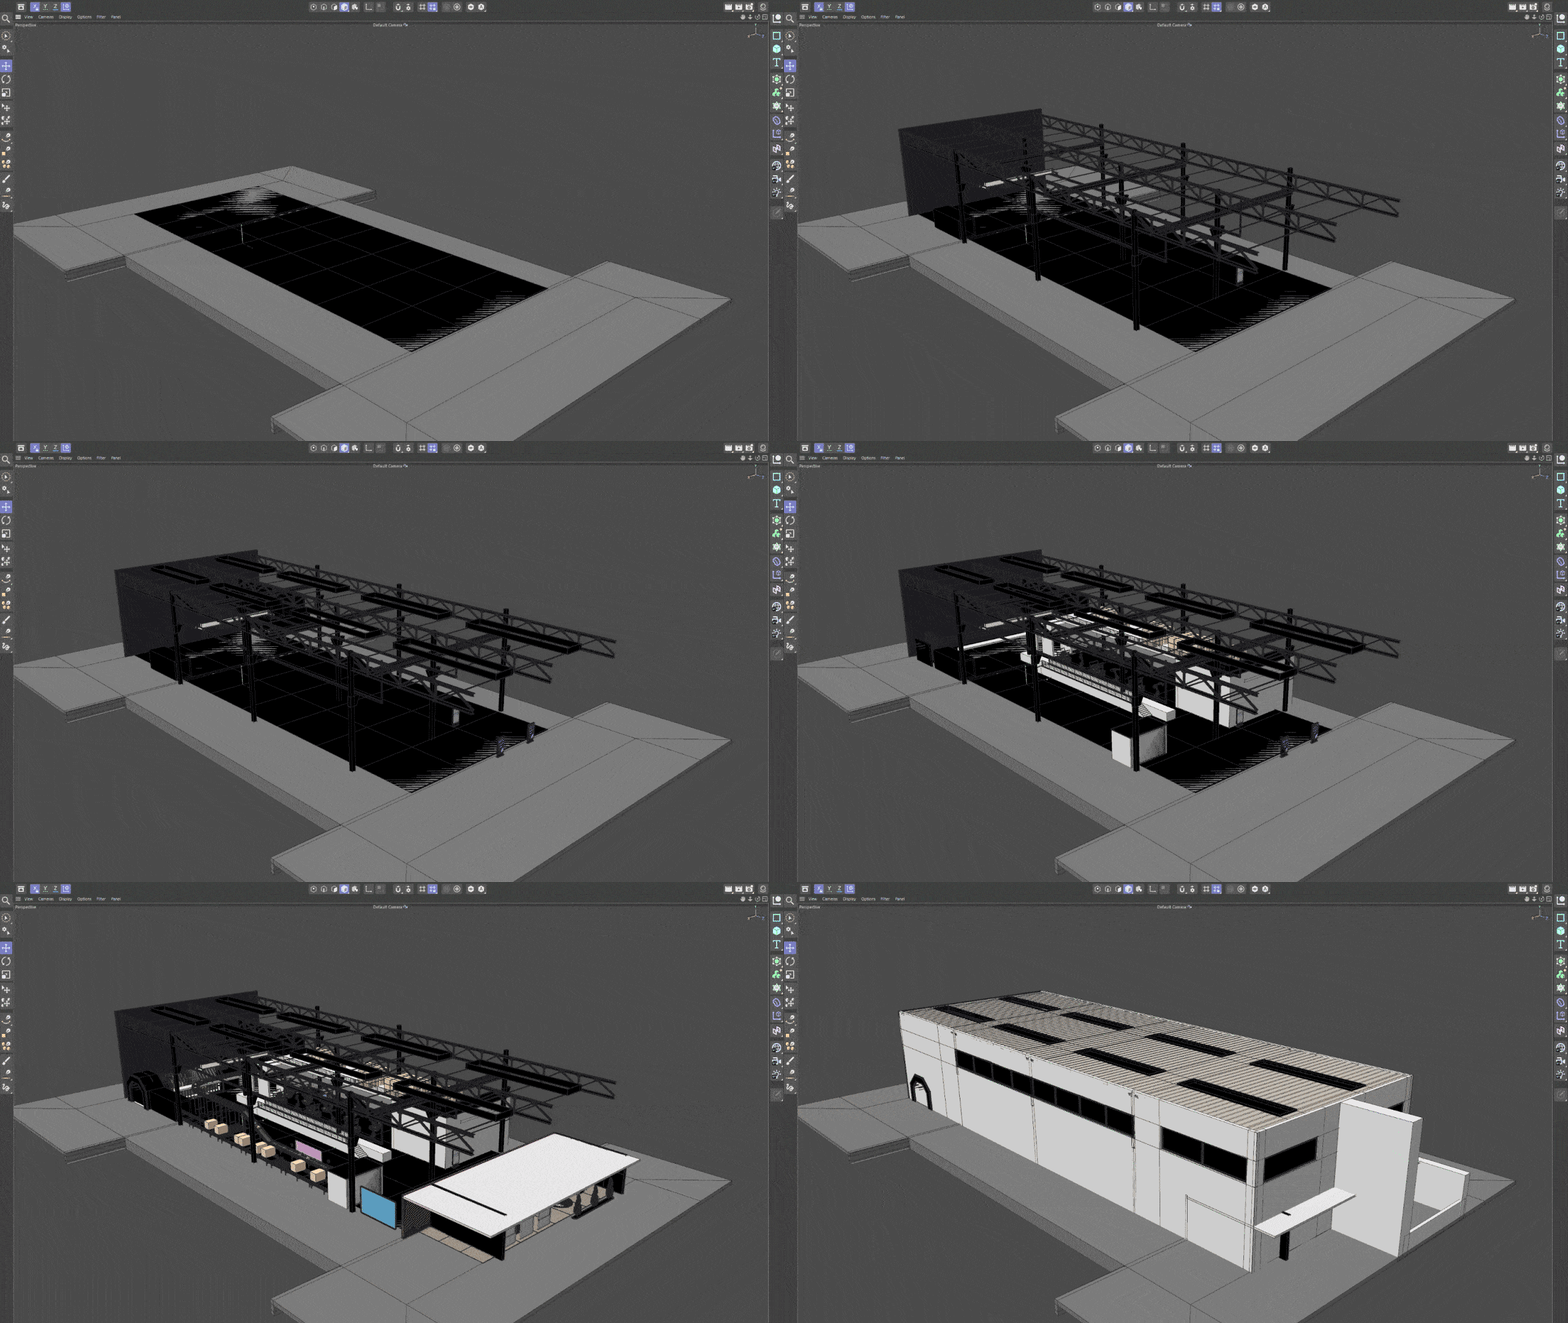
WebVR Environment Floorplan Buildup – Oliver Kästner
A further advantage of an HDRI is the representation of the position of the object. If the house, e.g.: in the forest or in the town, it makes sense to use an HDRI with a forest or a city. However, detailing the environment should be limited to all necessary visual elements due to the high amount of data and computing needed. Always need to keep the target device in mind. When running on smartphones, you’ll have fewer resources to work with in order to run the WebVR application smoothly.
Most important tools to create webVR projects
The most important tool is a 3D program itself, with which you can create the complete structure of the object. Sometimes it is also possible that you already get data from the customer for the WebVR project. In this case, the tool should also be able to import this data. Nowadays, however, this works very well in most cases since most 3D programs like 3ds Max, Cinema 4D, or Blender have become much more compatible with each other. We use plugins for special areas like creating windows, doors, or stairs to speed up our workflow. All these things can be quite time-consuming without plugins. When using plugins, always keep in mind not to work too detailed for a WEB VR application. It is very easy to add too many things to a scene with modern plugins and tools. So we are not moving in the CAD detail area. Having a clear visual focus and always keeping file sizes and loading times in mind helps a lot to create immersive experiences.
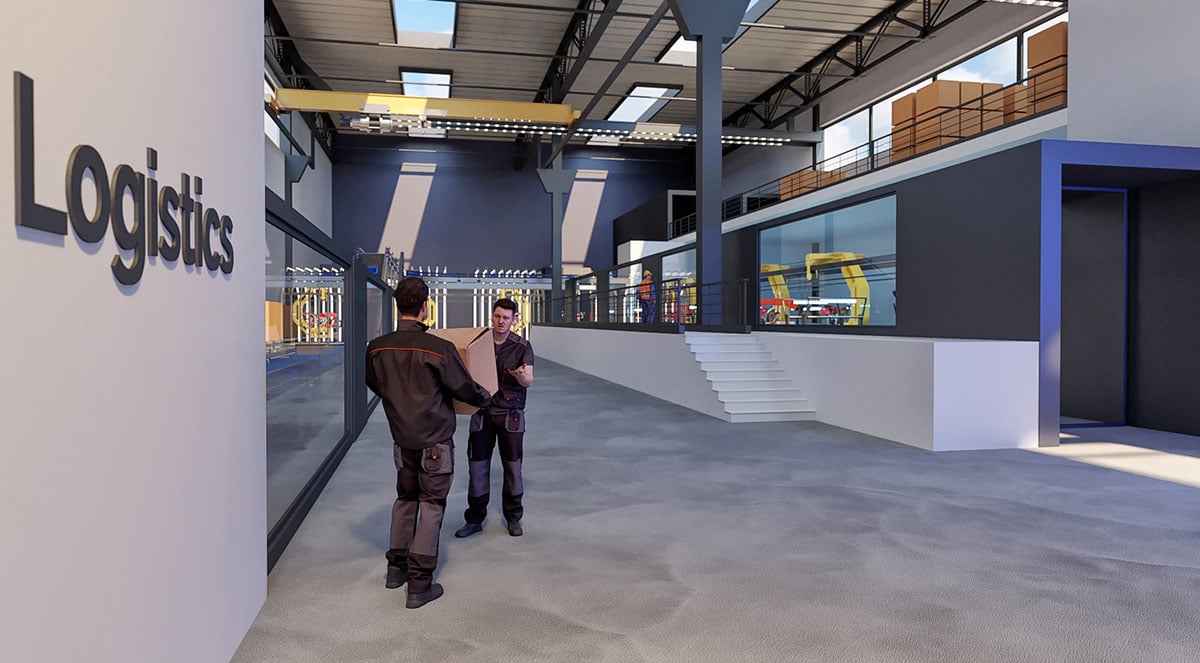
WebVR Production Line Interaction Scene – Oliver Kästner
How to optimize the performance for realtime web rendering
The most important things are to optimize the individual 3D models before importing it for web rendering. Especially when it comes to industrial machines or similar high-detail models. Often a lot of preparatory work has to be done to make these things web-ready. Quick Example: We once needed to reduce a customer file in STEP format with a size of 7 GB to 100 MB in order to get it into the project. Unfortunately, this cannot happen fully automatically and requires manual work. Another important point is the material for every individual 3D asset. You should always optimize textures for 2K resolution and convert all textures to square for the application e.g.: 2048×2048 pixels. This one can save then again web-optimized. This way, you can reduce the kilobyte size per image without optical losses. Within the application, you can work with square areas if the object allows it. This way, you can easily edit and exchange textures. If you want to have it more special, it is recommended to pre-bake the textures in the 3D tool and then bring them into the WEB VR application.
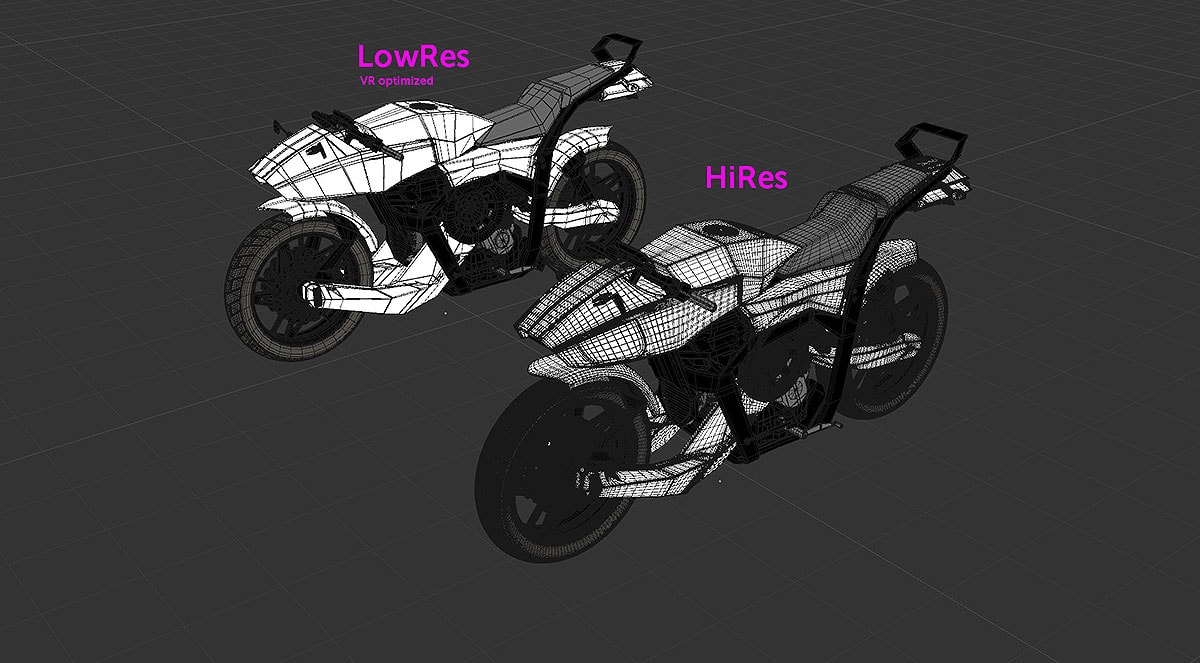
Object Optimization for better performance – Oliver Kästner
Known trouble spots to avoid
No project is like the other, and no project can be planned down to the last detail. There are always a few stones that get in the way. Often there are textures that don’t work in Web applications or other elements that are too processing demanding for WebVR applications. Sometimes there are programming issues that need to be solved first. Reusing assets, scripts, or tools from previous projects is possible but also time-consuming when conversion time is needed. These things than simply have to be fixed for the final showcase.
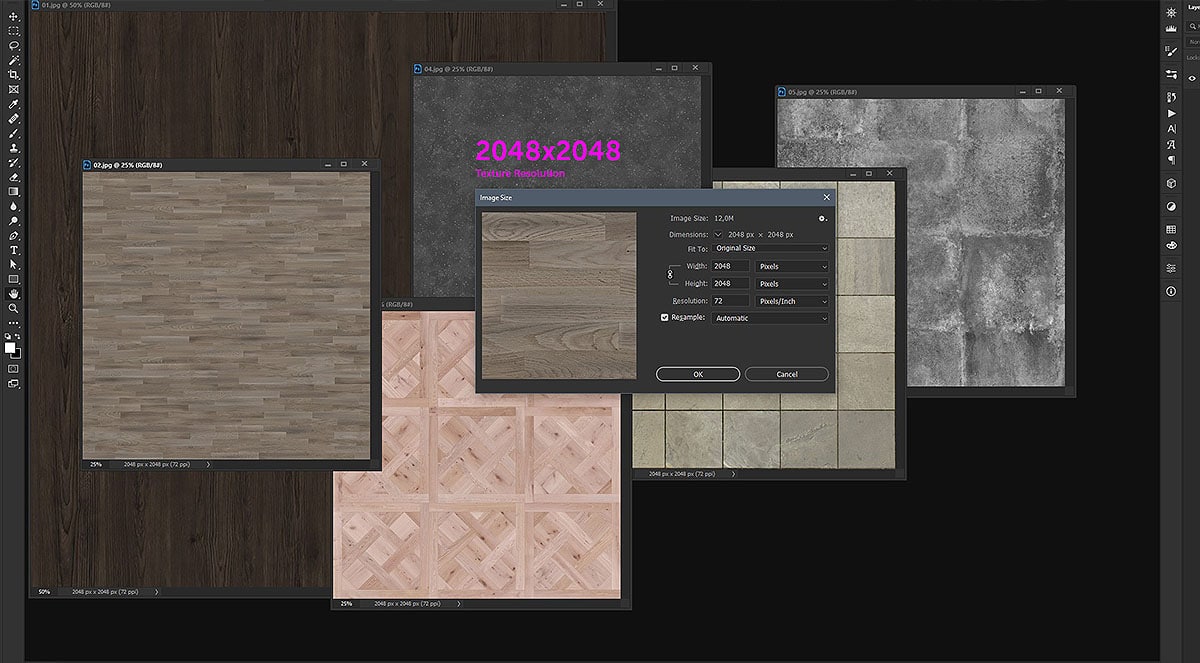
2K Texture Material Optimiuation – Oliver Kästner
Using 3D People models for webVR
Personally, I think people are very important. A human being often adds a level of realism to the overall sense of scale. However, it also depends on the customer’s wishes, whether people should be included in the scene, and whether they make sense or not. Some customers have also said that they don’t feel so alone during virtual exploration if there are other digital people in the room with them.
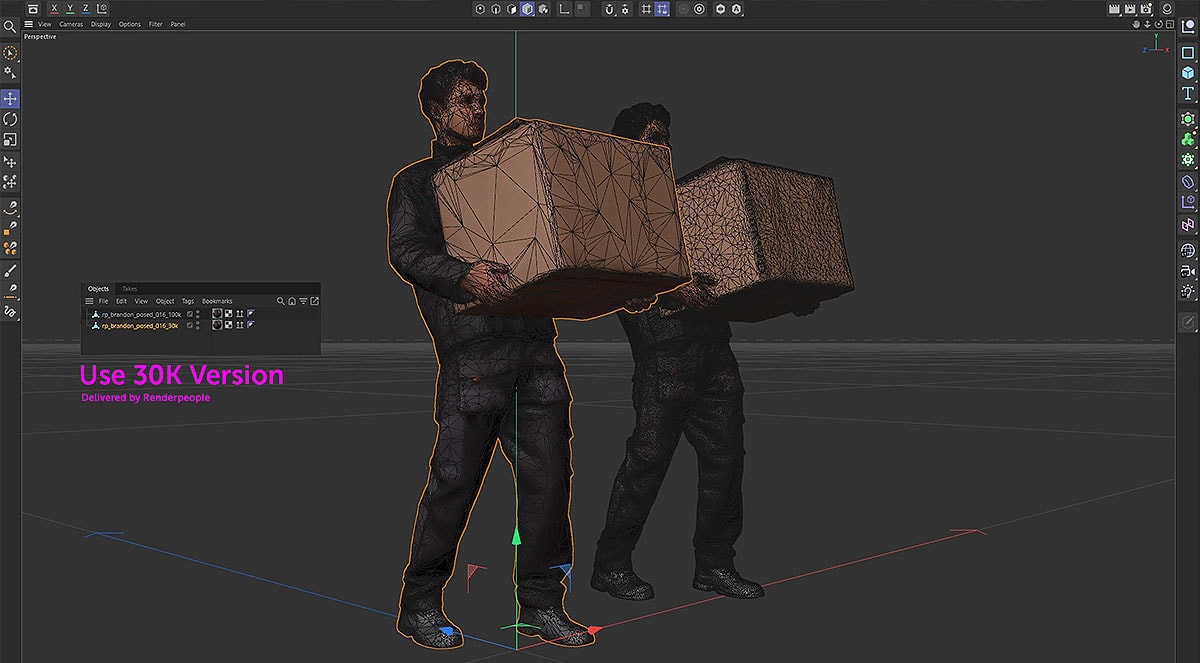
Polygon density comparison for WebVR – Oliver Kästner
The Renderpeople 3D people models are always imported in the smallest polygon version. Thanks to the various templates that are available, it is very easy to populate WebVR scenes with Renderpeople models. We always use the smallest version of the texture (2K) to improve performance. More work is not necessary from our side – Everything else is ready for action.
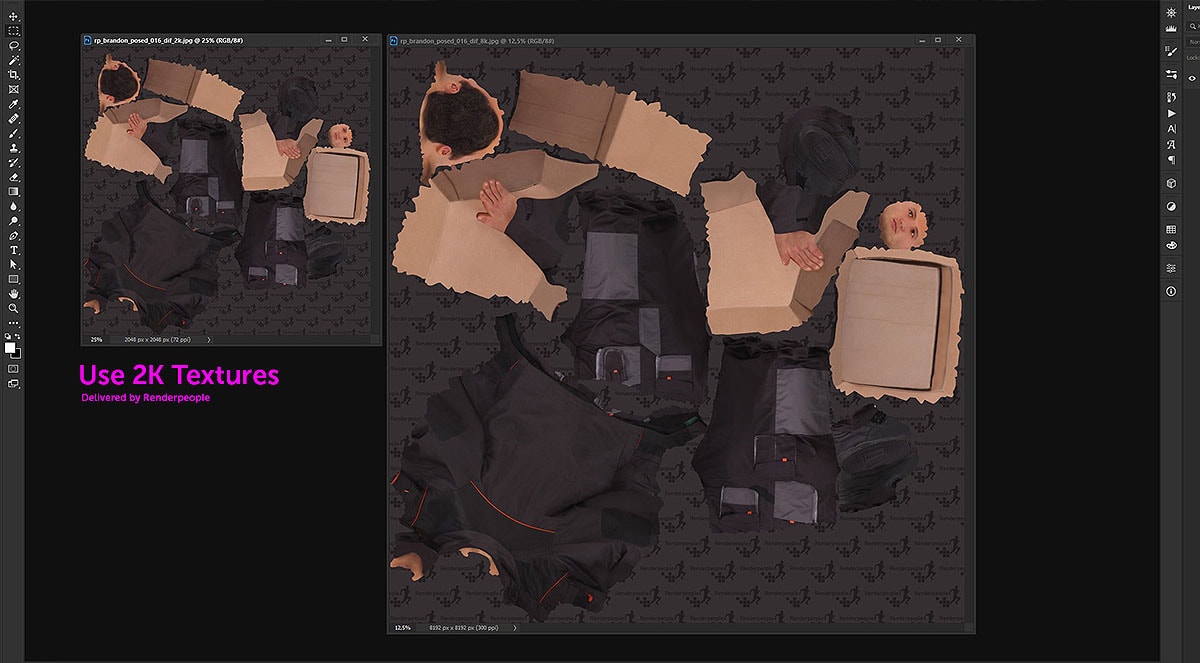
Renderpeople model texture resolution comparison – Oliver Kästner
WebVR project preview
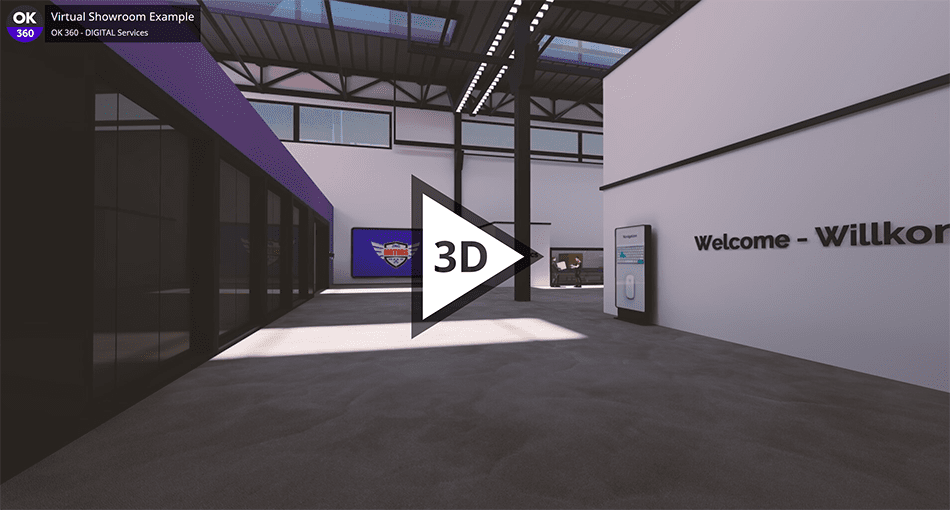
Interest sparked? We have prepared two WebVR showcases especially for this blog article. Check out our Example Project for Desktop or Example Project for Mobile to give you a quick look of how such a project can look like on device.
Since we have too many customer projects that are not accessible without prior registration or would even reveal product secrets, we have built those example project that is as close to possible to real projects. Every user can get familiar with the WEB VR application, does not have to register anywhere, can have a look at some examples of the possibilities, and maybe even come up with some ideas of their own. We hope you enjoy it.
About Oliver Kästner and OK360

ok-archviz.de | ok-360.de | Instagram | Facebook | YouTube
OK360 is a small but powerful visualization studio based in Germany. Just compare our team to an elite task force that will always support you with full force to achieve your goals. We provide over 20 years of experience in communication design, CGI, motion graphics and 3D development.
