User Interface Basics
Main Menu
You can access all of Renderpeople Studio’s functions via the ‘Renderpeople’ menu item in the main menu of 3ds Max. This menu item automatically shows up after the Renderpeople Studiohas been successfully installed.
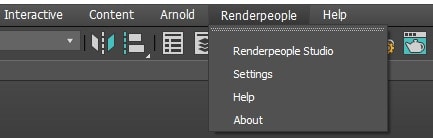 Within the Renderpeople menu you will find the following entries:
- Renderpeople Studio
Opens the main window of the Renderpeople Studio, also called the Content Browser – When opening this for the very first time, the log-in window will show up instead. - Settings
Opens the settings window – The settings window contains your account and log-in information as well as general settings for using the Renderpeople Studio. - Help
Redirects you to the full Renderpeople Studio documentation website. On that website, for contacting us personally, please klick the ‘Support’ button. - About
Opens the About window – In the About window you’ll find your recently installed version number as well as the latest Renderpeople Studio End-User License Agreement.
Content Browser
The Content Browser window is Renderpeople Studio’s main area. Within this area you will be able to search, filter, purchase and most importantly import 3D People models into your scene. The Content Browser window consists of several different areas, each of them explained below:
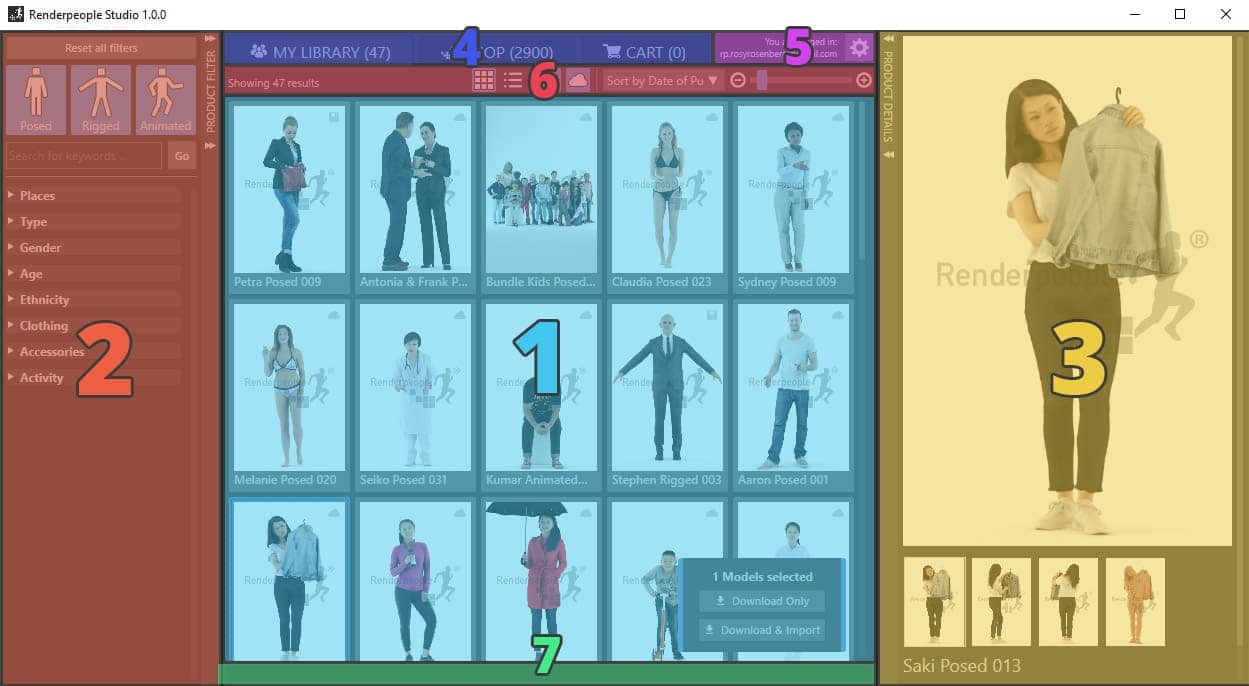
- Content Area
This Content Area is showing 3D People. You can browse through and select specific items and interact with them. Which models are being shown is depending on the selected section(#4), your active filters(#2) and your current display settings(#6). - Product Filters
All Renderpeople 3D People have been tagged and categorized to allow a quick and easy workflow when you need to find a particular model out of hundreds. In the Product Filters area you can apply filters for given categories or enter individual search terms to look for specific keywords (e.g. ‘bag’, ‘phone’, ‘suit’, ‘family’). All set filters and search terms will apply on the results that you see in the Content Area.The Product Filters area can be folded in and out by klicking on the vertical bar tagged with ‘PRODUCT FILTER’.
- Product Details
In the Product Details area, a higher resolution product image, as well as further product image perspectives can be found. Moreover, further details like the Product name, product tags and product price are being shown.The Product Details area can be folded in and out by klicking on the vertical bar tagged with ‘PRODUCT DETAILS’.
- Main Navigation
With the Main Navigation you can switch between 3 different sections: MY LIBRARY, SHOP and CART.- MY LIBRARY shows all the Renderpeople models your account own and/or all the Renderpeople models that have been downloaded to your Renderpeople Studio local file path. Find more information about Account & Filemanagement here.
- The SHOP shows all 3D People models that Renderpeople offers. This section is being updated on a weekly basis. Get more information about how to purchase Renderpeople models here.
- The CART shows all the Renderpeople models that have been added to your shopping cart. From here you can easily get to the checkout. Get more information about how to purchase Renderpeople models here.
- Settings
The Settings area shows whether you are logged in and your Renderpeople account’s e-mail address. By clicking on the gear icon, you can get to the Settings window. - Display Settings
The Display Settings area offers several options to change the view and narrow the results that you see in the Content Area. For more detailed information on how to use the Display Settings area, please click here. - Download Area
When you are downloading models, the Download Area will be showing the current download progress as well as download speed.